

Search Atlas offers a fully integrated content operating system, unlike Surfer SEO, which focuses on optimizing individual articles. Search Atlas manages the entire content lifecycle, combining planning, writing, and publishing into one efficient workflow.
For agencies and marketing teams, this means scaling your entire content strategy, not just individual pieces.
Search Atlas includes content planning and auditing tools, eliminating the need for additional software or disconnected processes. It provides a complete system that saves time and minimizes manual effort, extending beyond content creation.
This guide explains how to transition your content workflows from Surfer SEO to Search Atlas. It covers moving your content to the Content Genius editor, replacing Surfer’s Content Audit and Topic Map with Search Atlas tools, and setting up 1-Click Publishing to simplify your workflow.
1. How to Migrate Your Content from Surfer SEO to Search Atlas?
The most common workflow for Surfer users involves its Content Editor.
The migration process involves moving your existing articles into Search Atlas’s Content Genius editor, which will feel familiar.
From Surfer SEO
There is no export featured in Surfer SEO. You simply need to retrieve the content.
Navigate to your published article on your website or open the Google Doc where the final version is saved.
Select and copy the entire text content of the article.
Alternatively, copy the URL of your Google Doc or the Surfer SEO content editor containing the content you wish to import into Search Atlas.
In Search Atlas
Now you will move your copied content into the Content Genius editor.
In your Search Atlas dashboard, navigate to Content > Content Genius.
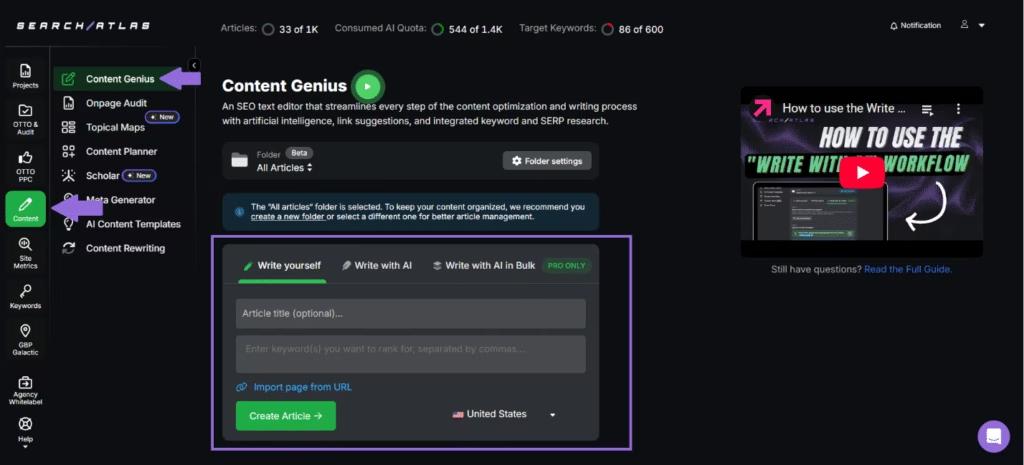
Click on the Write Yourself option, and select Create Article
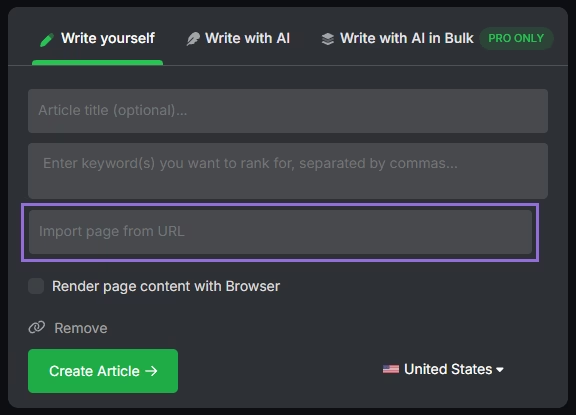
You can either paste your existing article text directly into the editor, or enter the URL of the content you want to import, along with the keyword(s) you want to rank for.
The editor will automatically retrieve topical terms, which are the related keywords.
Importing Content from the URL
Enter URL for the article, enter the main keywords you want to rank for, and hit.
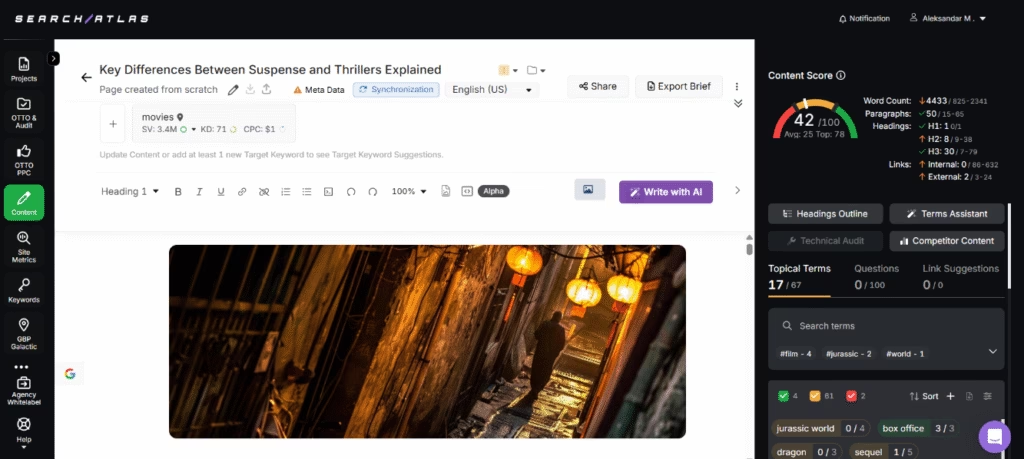
The tool evaluates technical improvements, content structure, and keyword optimization.
2. How to Set Up the 1-Click WordPress Publishing?
This is a new workflow, so there are no steps to perform in Surfer SEO. The following steps will show you how to connect your WordPress site to Search Atlas.
In WordPress
Install the Plugin
In your WordPress dashboard, navigate to the Plugins section in the left-hand menu and click Add New Plugin.
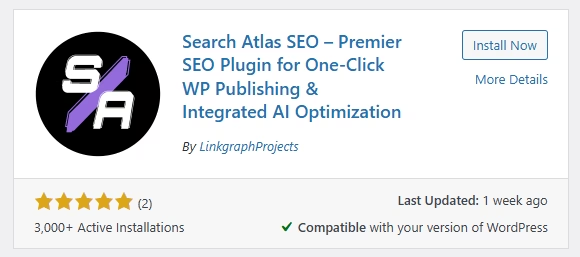
Search for Search Atlas SEO in the search bar and click Install Now.
When the installation is complete, click Activate.
Get Your API Key
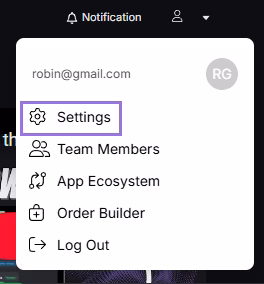
Go to your Search Atlas dashboard and click on Settings.
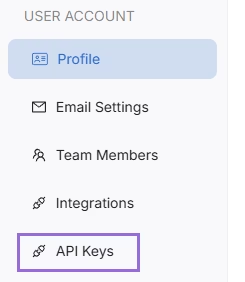
Click on the API Keys tab.
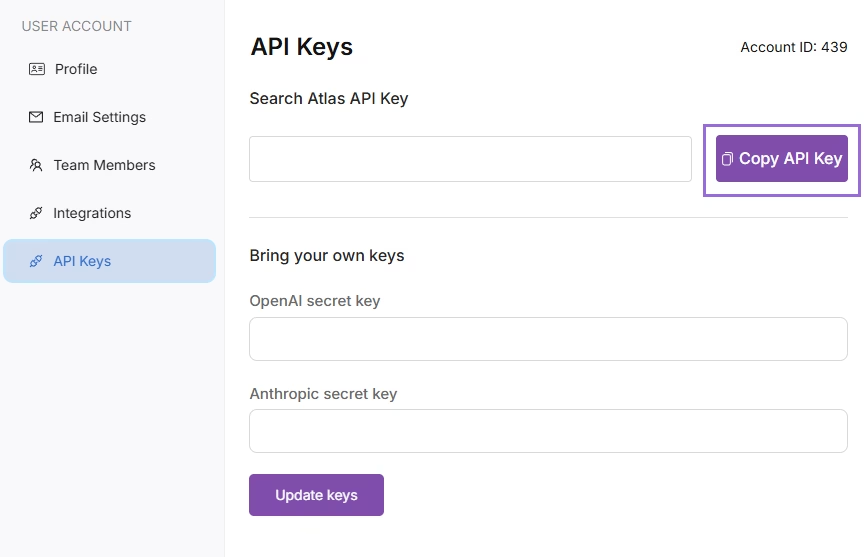
Click on to copy the API Key
Use Your API Key to Connect Search Atlas with WordPress
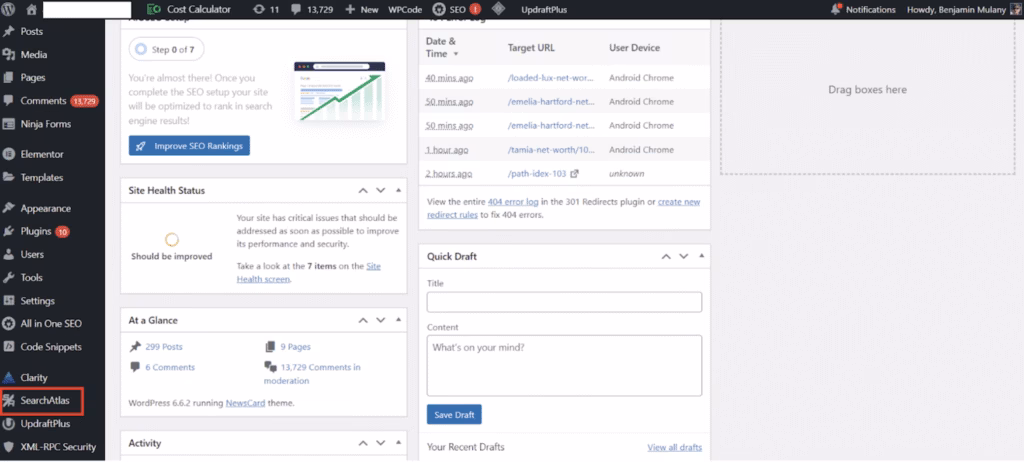
After installing and activating the Search Atlas WordPress Plugin, go to Search Atlas in the left menu of your WordPress dashboard.
In the settings page that appears, paste your copied API key into the Search Atlas API Key field.
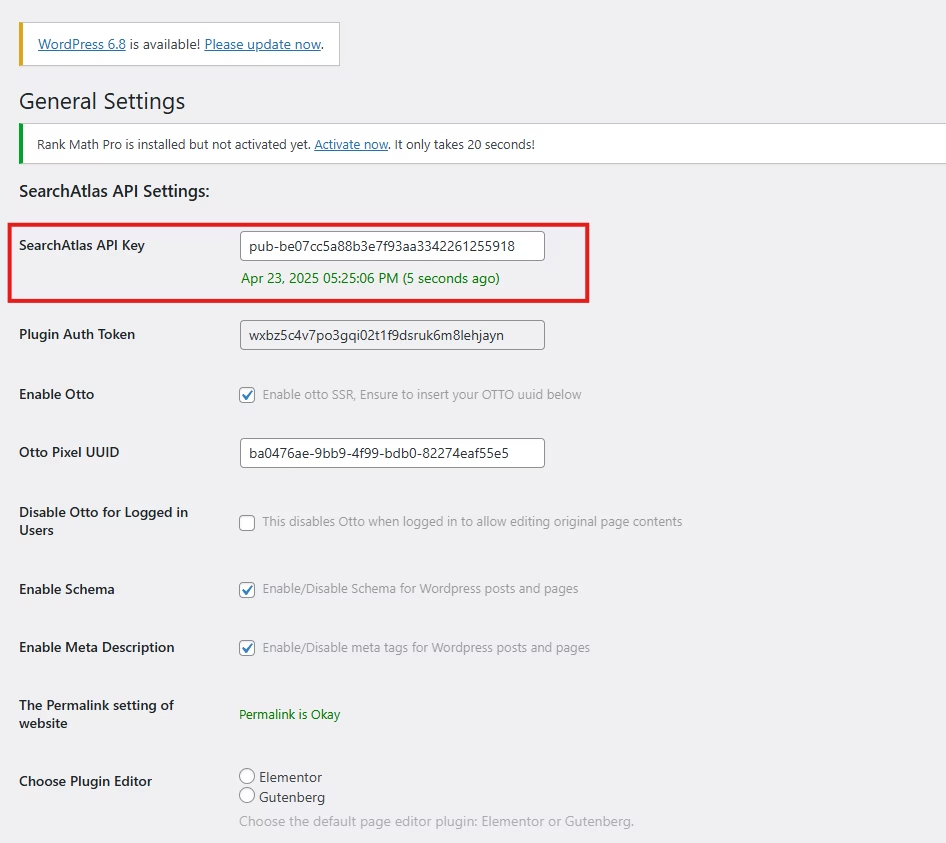
Click on Save Changes.
Publishing Content in 1-Click
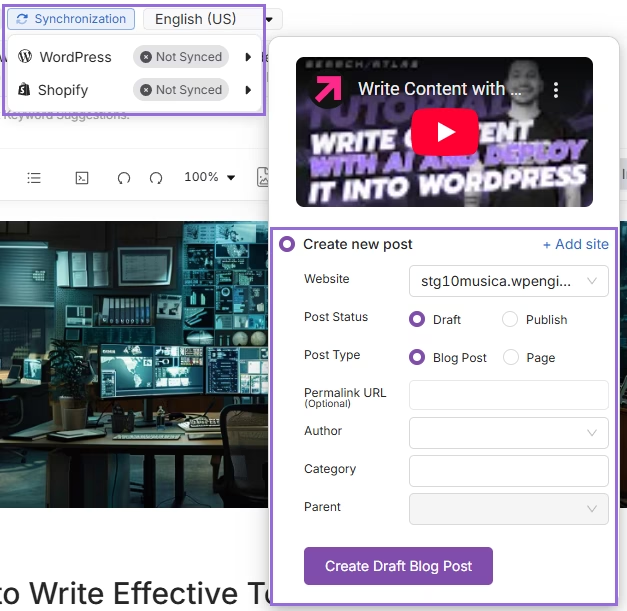
Inside Content Genius, you will be able to if WordPress is syncronized with Search Atlas and choose directly in editor:
- Website to be published
- Status
- Type
- Permalink URL
- Author
- Category
- Parent page
3. How to Migrate Surfer’s Topical Map to Search Atlas?
Surfer’s Topical Map is designed effective for discovering topics.
Search Atlas’ Topical Map generates topic ideas and enables you to write with AI and publish the articles.
From Surfer SEO
Log in to Surfer SEO and navigate to the Topical Map tool.
Click New Topical Map, input your seed keywords or connect Google Search Console, and generate a map.
Use the Export button to download the keyword clusters as a CSV or PDF file.
In Search Atlas
Create the Topical Map
Within the Content Genius suite, navigate to the Topical Map section.
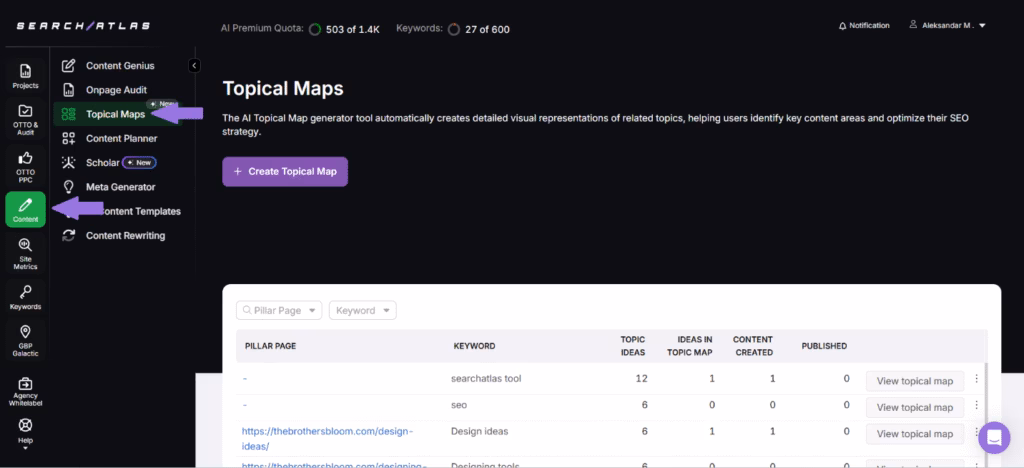
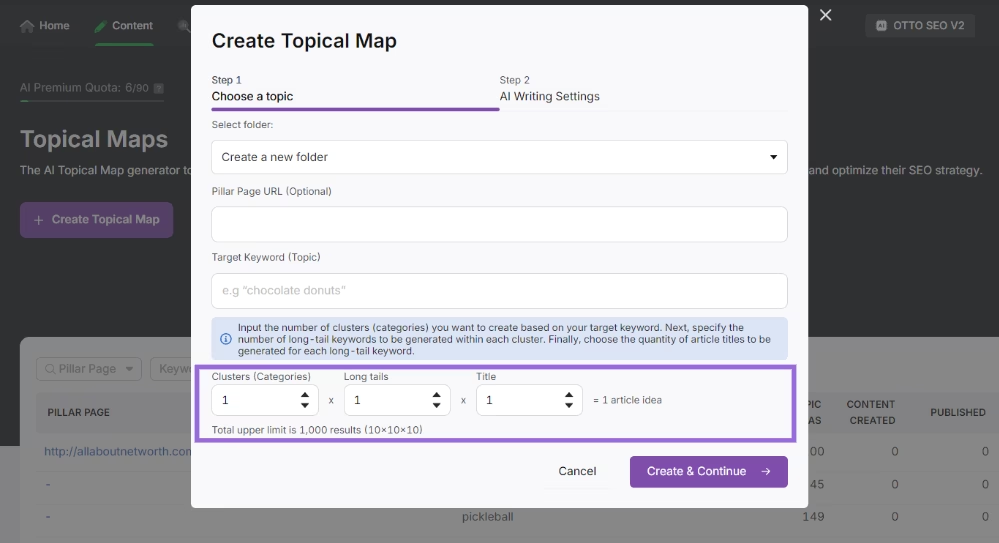
Click on the Create Topical Map button.
Fill in the required details, including the folder for AI Writing Settings, Pillar Page URL, Target Keyword, and Language.
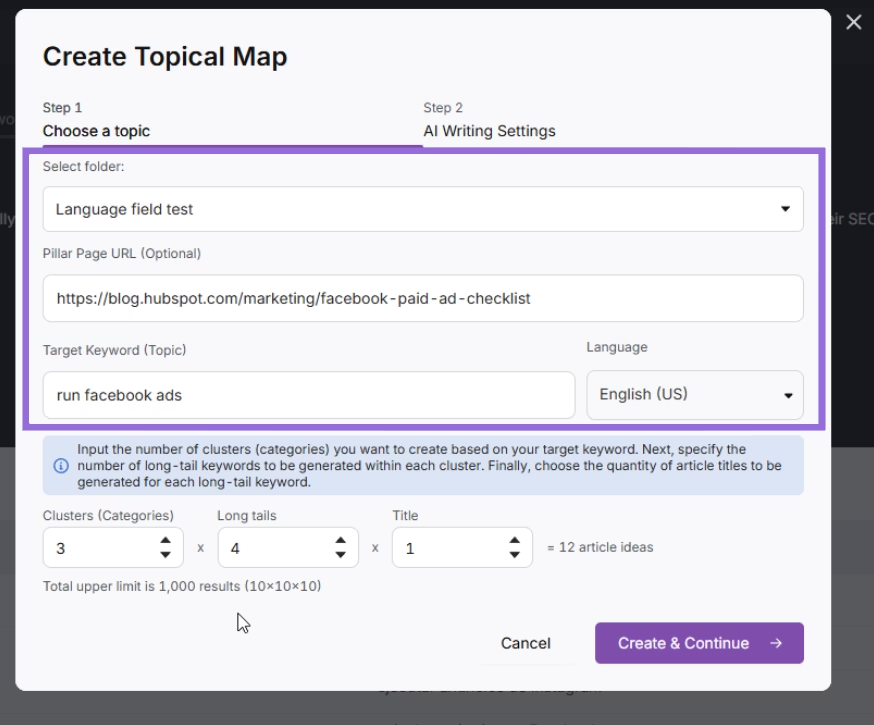
Specify the number of clusters you wish to create, how many long-tail keywords should be generated for each cluster, and the desired number of titles for each long-tail keyword.
Click the Create & Continue.
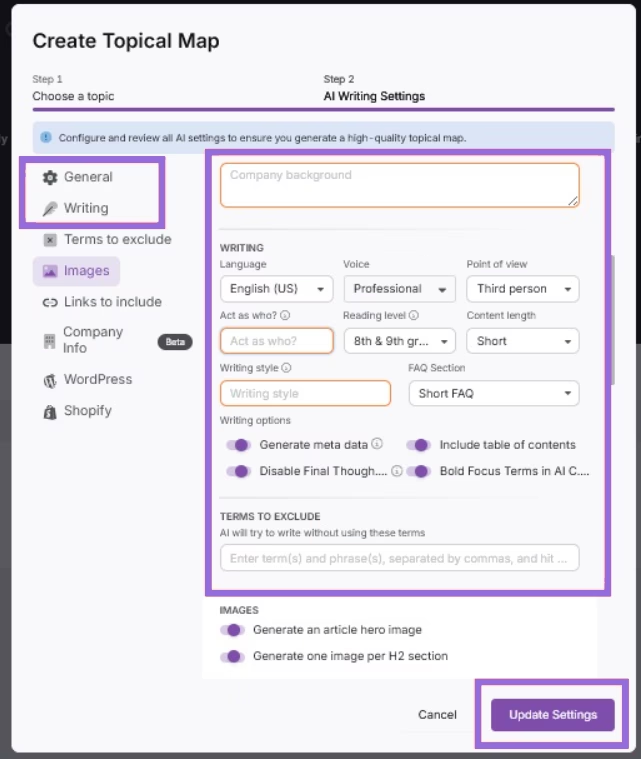
Choose your preferred AI settings and click Update Settings.
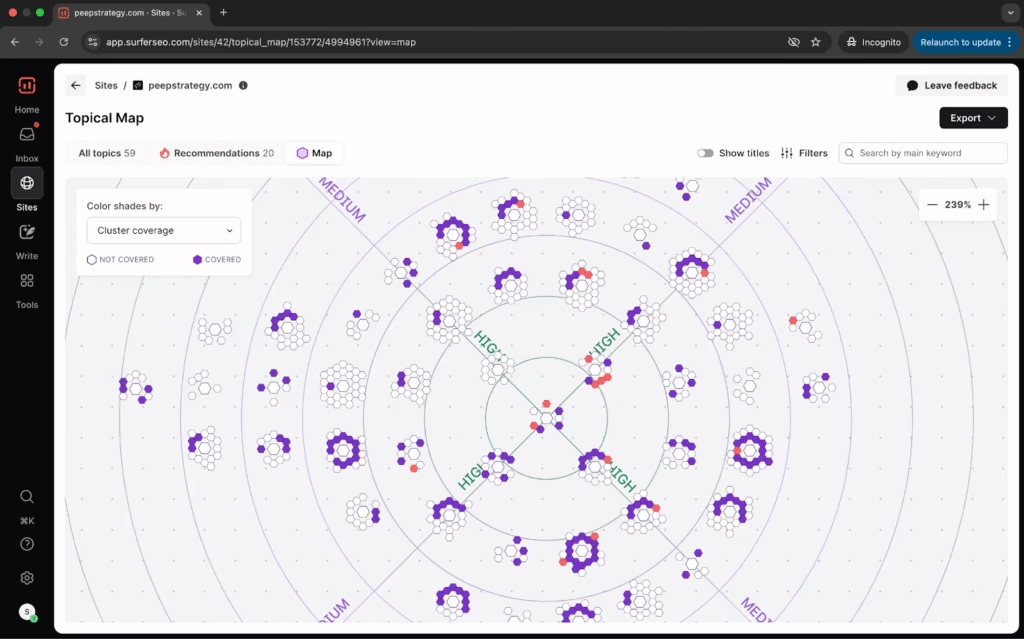
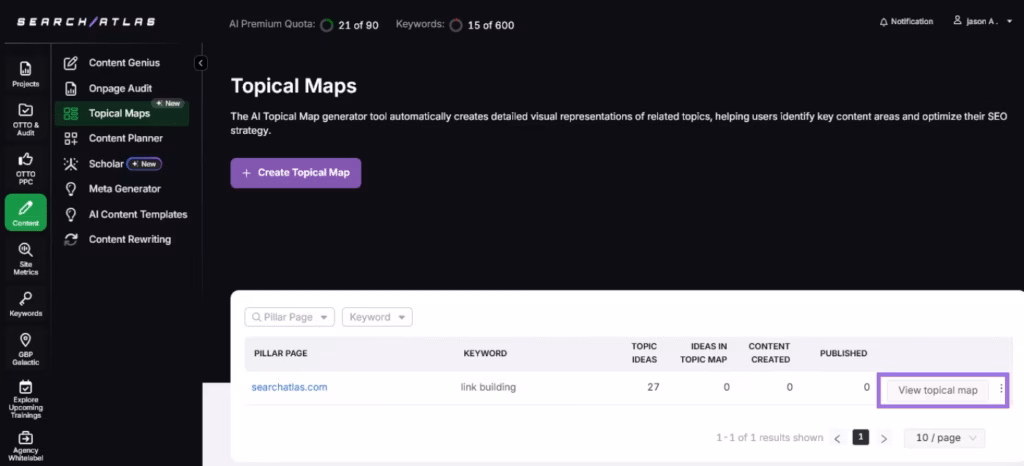
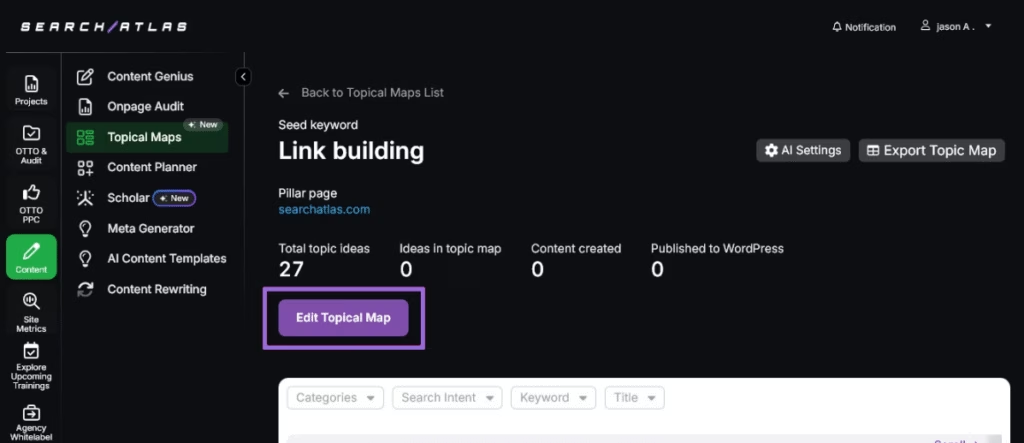
Once the topical maps are generated, you can view them in the table provided. Click on the View topical map button.
To add ideas to your topical map, click the Edit Topical Map button.
You have the flexibility to view your topical map ideas in either a Diagram or Table format.
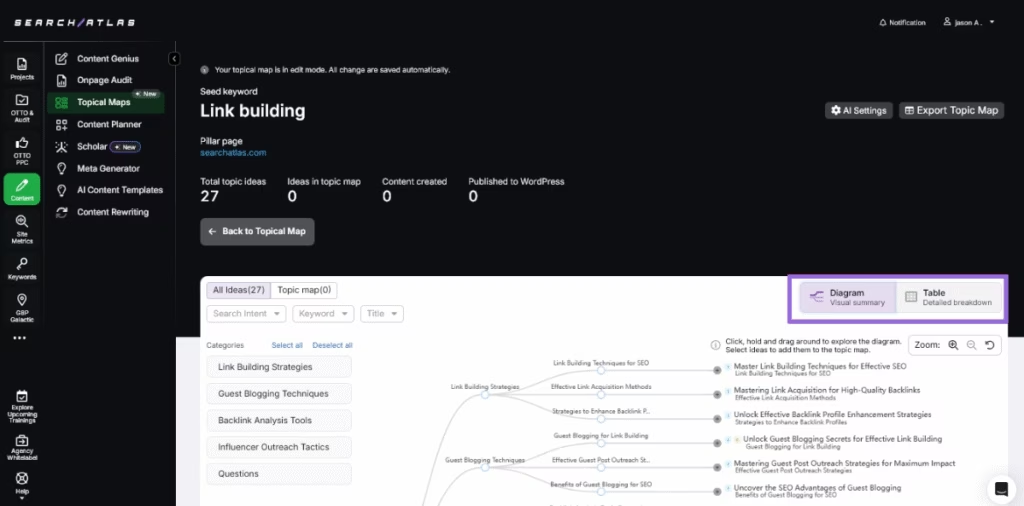
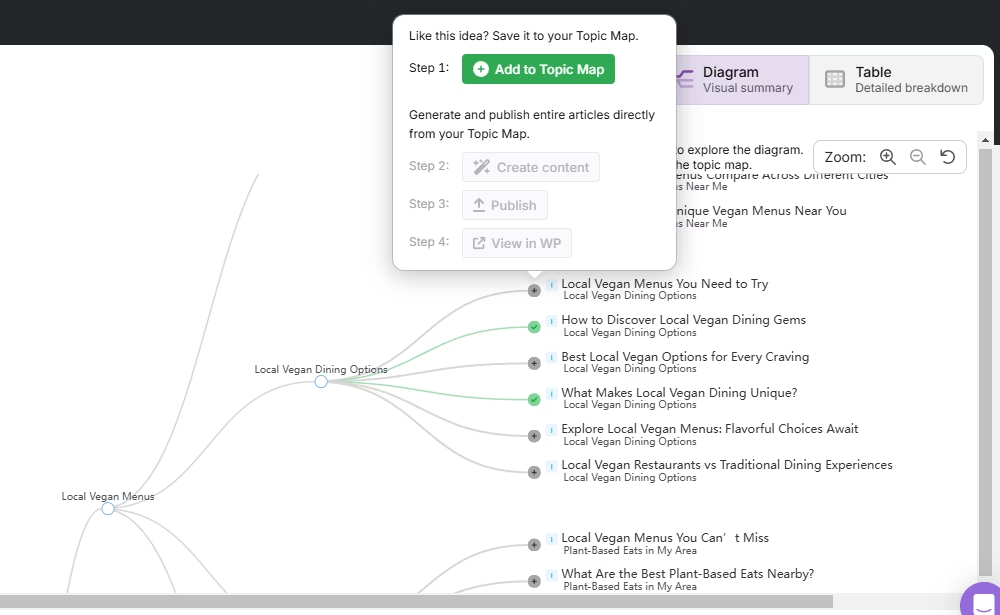
If you’re in Diagram format, select a node to reveal a pop-up menu.
From the pop-up menu, click Add To Topical Map to incorporate that specific idea into your plan.
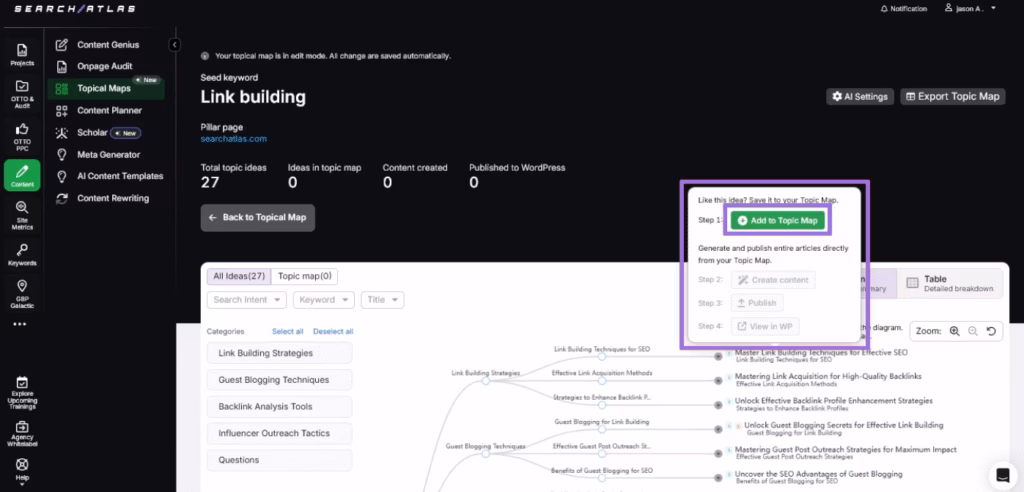
Select which blogs your want added to the topical map and create the content, publish it, and view it on your WordPress website.
4. How to Migrate Surfer’s Content Audit to Page Pruning?
Surfer’s Content Audit analyzes your pages and assigns a Content Score.
Search Atlas offers Page Pruning, which helps you identify which pages to improve, consolidate, or remove.
There is no need to export or import any data for this step; you simply run a fresh analysis in Search Atlas.
In Search Atlas
The Page Pruning tool analyzes all of your published content to find underperforming pages that could be harming your site’s overall SEO health.
Navigate to OTTO & Audit > Site Audit. Make sure you have already run a complete site crawl.
Once the crawl is complete, click on Page Pruning.
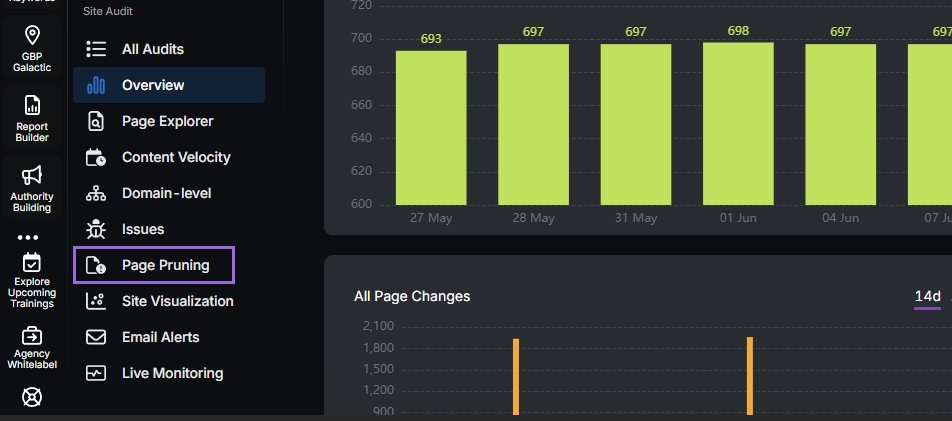
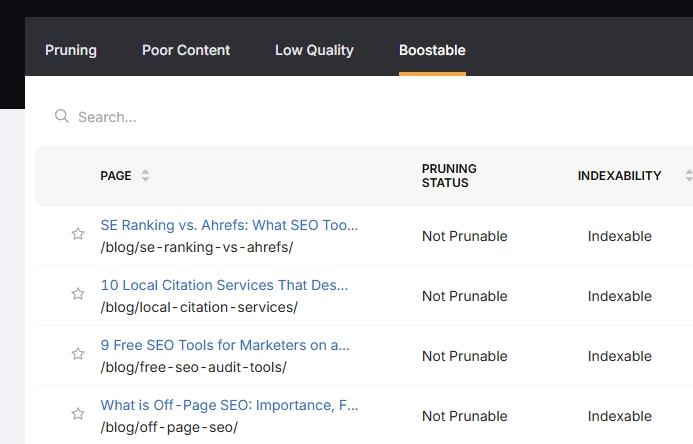
The tool will automatically analyze every page and group your content into four categories:
- Pruning: Removes underperforming pages to improve overall site authority and focus.
- Poor Content: Pages with thin, duplicate, or irrelevant content that hurts SEO.
- Low Quality: Pages with weak signals like low traffic, engagement, or backlinks.
- Boostable: Pages with potential that benefit from updates instead of deletion.
5. How to Leverage the Search Atlas Onboarding Process?
Search Atlas offers multiple support channels to help you with any questions or issues. Here is how to make the most of our onboarding process.
Watch Tutorial Videos
Search Atlas offers step-by-step tutorials on YouTube to help you set up reports, dashboards, and automations.
Book a 1:1 Onboarding Session
During your trial, you can schedule a 1:1 onboarding session directly from the dashboard. A product expert will help you customize your setup, connect integrations, and configure OTTO SEO for automation.
Follow the 7-Day Email Campaign
As soon as you start your free trial, you’ll receive a 7-day onboarding email sequence. Each email walks you through a core feature.
Technical Documentation
Access full technical docs via the Help Center for detailed instructions on using every tool. Everything is searchable and regularly updated.


